Posters
Introduction
Scientific posters are often used to present research/information at conferences and other forms of meeting where they can facilitate presentation of your research for discussion with colleagues. This article explains the basics of typesetting a poster in LaTeX but if you are interested to quickly explore the possibilities then visit the Overleaf Gallery to search for poster templates as your starting point:
Two main options
The two main options for writing scientific posters are tikzposter and beamerposter. Both offer simple commands
to customize the poster and support large paper formats. Below, you can see a side-to-side comparison of the output generated by both packages (tikzposter on the left and beamerposter on the right).
 |
 |
Tikzposter
tikzposter is a document class used to generate scientific posters in PDF format. It uses the TikZ package and provides very flexible layouts.
Open an example of the tikzposter class in Overleaf
The preamble and the title
The preamble in a tikzposter class has the standard syntax:
\documentclass[25pt, a0paper, portrait]{tikzposter}
\title{Tikz Poster Example}
\author{Overleaf Team}
\date{\today}
\institute{Overleaf Institute}
\usetheme{Board}

\begin{document}

\maketitle

\end{document}
Open this minimal tikzposter example in Overleaf
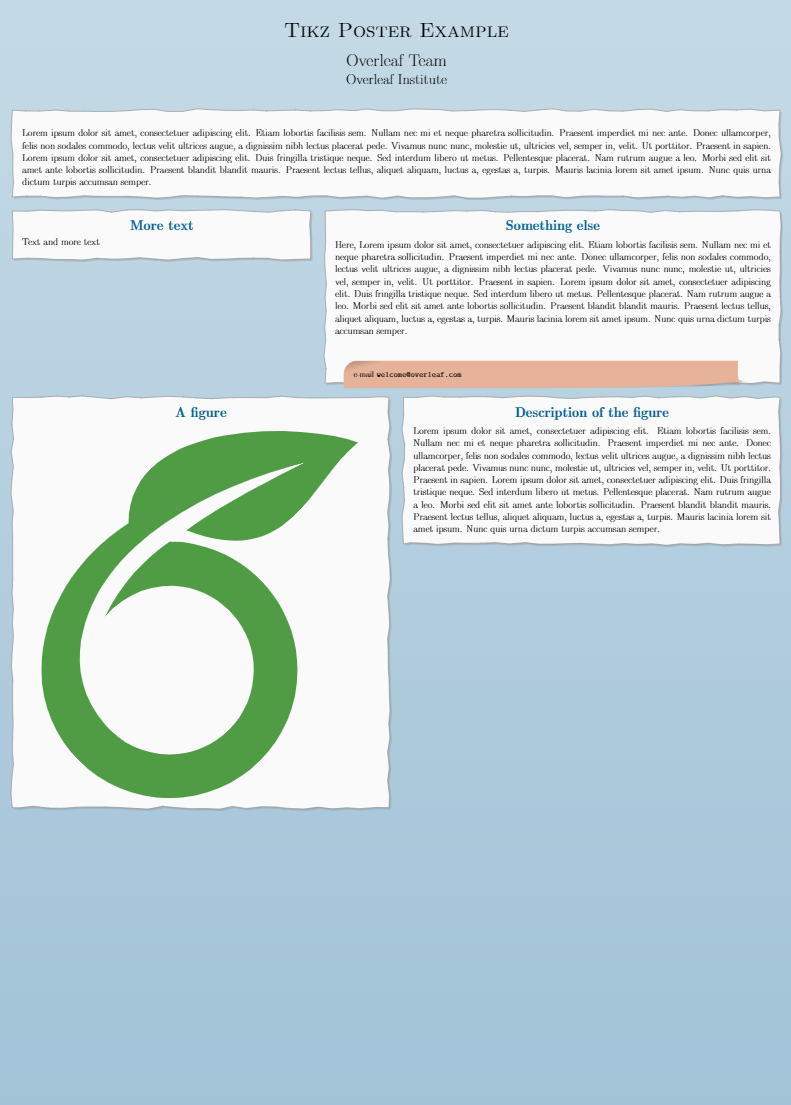
The following image shows the output produced by the code above:

The preamble
The first command, \documentclass[...]{tikzposter} declares that this document is a tikzposter. The additional parameters inside the brackets set the font size, the paper size and the orientation; respectively.
The available font sizes are: 12pt, 14pt, 17pt, 20pt and 25pt. The possible paper sizes are: a0paper, a1paper and a2paper. There are some additional options, see the further reading section for a link to the documentation.
The self-descriptive commands title, author, date and institute are used to set the author information.
The command \usetheme{Board} sets the current theme, i.e., changes the colours and the decoration around the text boxes. See the reference guide for screenshots of available themes.
The command \maketitle prints the title on top of the poster.
If you are keen to see a more detailed example you can open this example of the tikzposter class in Overleaf
.
The body
The body of the poster is created by means of text blocks. Multi-column placement can be enabled and the width can be explicitly controlled for each column, this provides a lot of flexibility to customize the look of the final output.
\documentclass[25pt, a0paper, portrait]{tikzposter}

\title{Tikz Poster Example}
\author{Overleaf Team}
\date{\today}
\institute{Overleaf Institute}

\usepackage{blindtext}
\usepackage{comment}

\usetheme{Board}

\begin{document}

\maketitle

\block{~}
{
    \blindtext
}

\begin{columns}
    \column{0.4}
    \block{More text}{Text and more text}

    \column{0.6}
    \block{Something else}{Here, \blindtext \vspace{4cm}}
    \note[
        targetoffsetx=-9cm,
        targetoffsety=-6.5cm,
        width=0.5\linewidth
        ]
        {e-mail \texttt{welcome@overleaf.com}}
\end{columns}

\begin{columns}
    \column{0.5}
    \block{A figure}
    {
        \begin{tikzfigure}
            \includegraphics[width=0.4\textwidth]{images/overleaf-logo}
        \end{tikzfigure}
    }
    \column{0.5}
    \block{Description of the figure}{\blindtext}
\end{columns}

\end{document}
Open this tikzposter class example in Overleaf
The following graphic shows the output of the code above:
In a tikzposter document the text is organized in blocks, each block is created by the command \block{}{} which takes two parameters, each one inside a pair of braces. The first one is the title of the block and the second one is the actual text to be printed inside the block.
The environment columns enables multi-column text, the command \column{} starts a new column and takes as parameter the relative width of the column, 1 means the whole text area, 0.5 means half the text area and so on.
The command \note[]{} is used to add additional notes that are rendered overlapping the text block. Inside the brackets you can set some additional parameters to control the placement of the note, inside the braces the text of the note must be typed.
Note on figure captions and references
As noted within the tikzposter documentation, the standard LaTeX figure environment is not compatible with the tikzposter document class. Consequently, the LaTeX mechanism for adding captions and referencing figures must be used within the tikzfigure environment, like this:
\begin{tikzfigure}[Caption of the figure]
\label{fig:fig1}
Figure
\end{tikzfigure}
Beamerposter
The beamerposter package builds on the standard beamer class and the a0poster class, making it possible to create scientific posters using the same syntax as a beamer presentation. Although there are fewer themes for this package, and it is slightly less flexible than
tikzposter, you may not need to learn many new commands if you are familiar with beamer.
Note: The beamerposter examples In this article use a custom beamerposter theme called RedLion. It is based on the theme Dreuw created by Philippe Dreuw and Thomas Deselaers, but was modified to make easier to insert the logo and print the e-mail address at the bottom of the poster. Those are hard-coded in the original themes.
The preamble
The preamble of a beamerposter is basically that of a beamer presentation, except for an additional command.
\documentclass{beamer}
  \usepackage{times}
  \usepackage{amsmath,amsthm, amssymb}
  \boldmath
  \usetheme{RedLion}
  \usepackage[orientation=portrait,size=a0,scale=1.4]{beamerposter}

  \title[Beamer Poster]{Overleaf example of the beamerposter class}
  \author[welcome@overleaf.com]{Overleaf Team}
  \institute[Overleaf University]
  {The Overleaf institute, Learn faculty}
  \date{\today}

  \logo{\includegraphics[height=7.5cm]{overleaf-logo}}
The first command in this file is \documentclass{beamer}, which declares that this is a beamer presentation. The theme RedLion is set by \usetheme{RedLion}. There are some beamer themes on the web, most of them can be found in the web page of the beamerposter authors.
The command
usepackage[orientation=portrait,size=a0,scale=1.4]{beamerposter}
Imports the beamerposter package with some special parameters: the orientation is set to portrait, the poster size is set to a0 and the fonts are scaled to 1.4. The poster sizes available are a0, a1, a2, a3 and a4, but the dimensions can be arbitrarily set with the options width=x,height=y.
The rest of the commands set the standard information for the poster: title, author, institute, date and logo. The command \logo{} won't work in most of the themes, and has to be set by hand in the theme's .sty file. Hopefully this will change in the future.
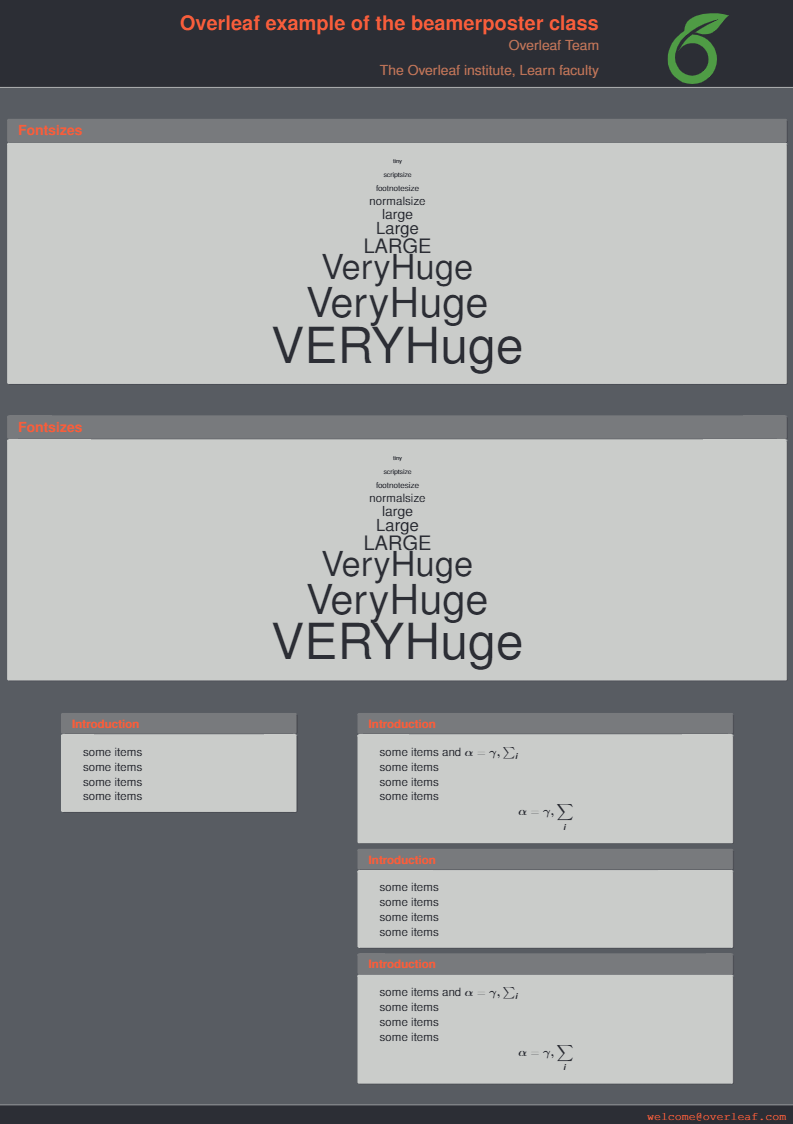
The body
Since the document class is beamer, to create the poster all the contents must be typed inside a frame environment.
\documentclass{beamer}
  \usepackage{times}
  \usepackage{amsmath,amsthm, amssymb}
  \boldmath
  \usetheme{RedLion}
  \usepackage[orientation=portrait,size=a0,scale=1.4]{beamerposter}

  \title[Beamer Poster]{Overleaf example of the beamerposter class}
  \author[welcome@overleaf.com]{Overleaf Team}
  \institute[Overleaf University]
  {The Overleaf institute, Learn faculty}
  \date{\today}

  \logo{\includegraphics[height=7.5cm]{overleaf-logo}}

  \begin{document}
  \begin{frame}{}
    \vfill
    \begin{block}{\large Fontsizes}
      \centering
      {\tiny tiny}\par
      {\scriptsize scriptsize}\par
      {\footnotesize footnotesize}\par
      {\normalsize normalsize}\par
      ...
    \end{block}

    \end{block}
    \vfill
    \begin{columns}[t]
      \begin{column}{.30\linewidth}
        \begin{block}{Introduction}
          \begin{itemize}
          \item some items
          \item some items
          ...
          \end{itemize}
        \end{block}
      \end{column}
      \begin{column}{.48\linewidth}
        \begin{block}{Introduction}
          \begin{itemize}
          \item some items and $\alpha=\gamma, \sum_{i}$
          ...
          \end{itemize}
          $$\alpha=\gamma, \sum_{i}$$
        \end{block}
        ...

      \end{column}
    \end{columns}
  \end{frame}
\end{document}
Open an example of the beamerposter package in Overleaf
Most of the content in the poster is created inside a block environment, this environment takes as parameter the title of the block.
The environment columns enables multi-column text, the environment \column starts a new columns and takes as parameter the width of said column. All LaTeX units can be used here, in the example the column width is set relative to the text width.
Reference guide
Tikzposter themes
| Default | 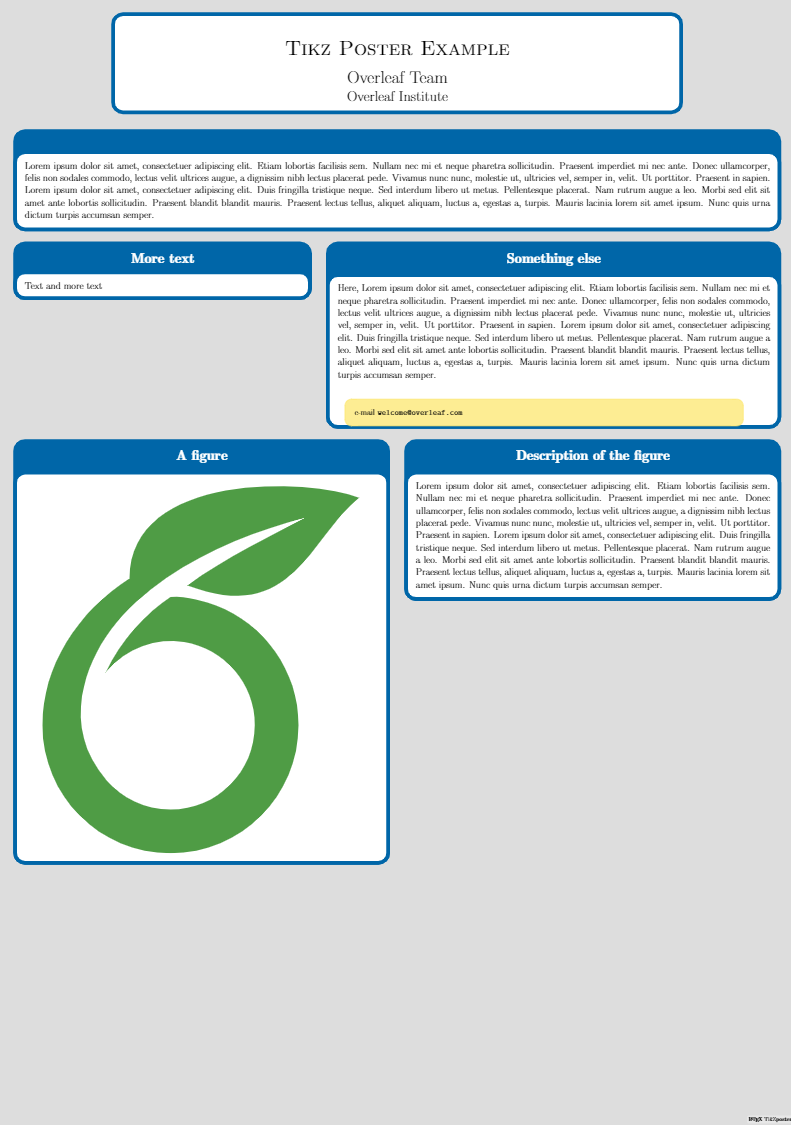
|
Rays | 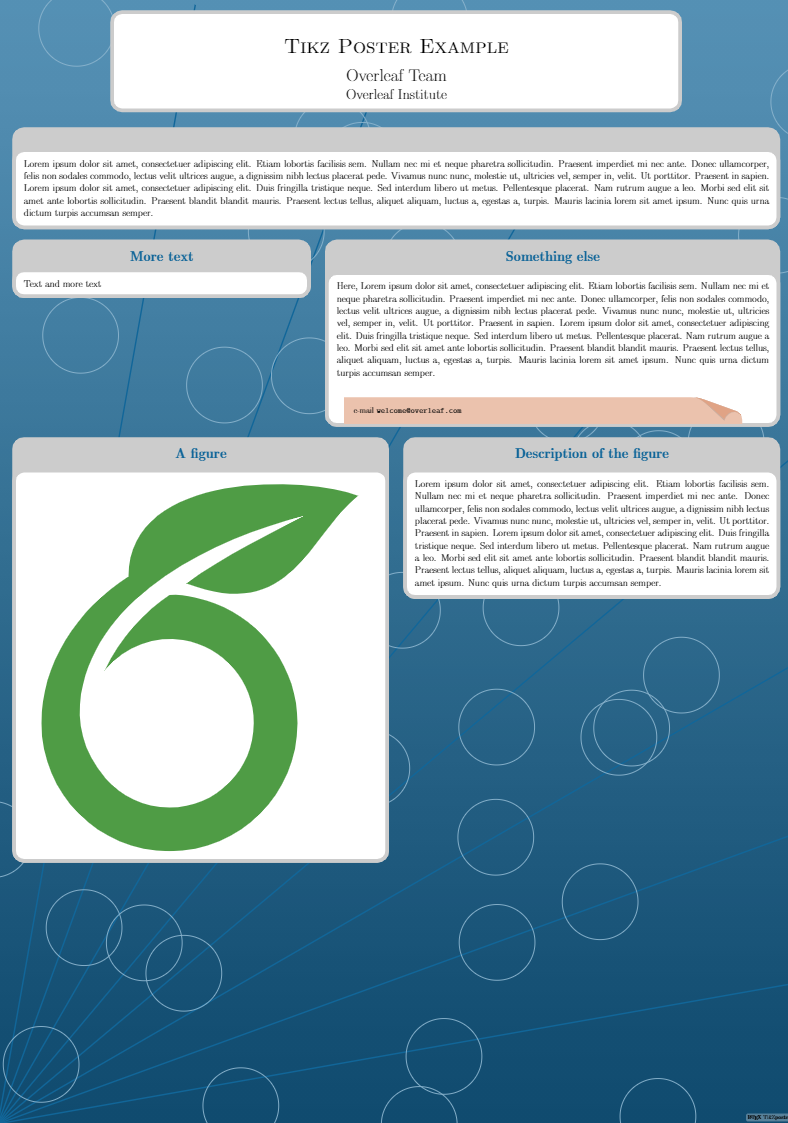
|
| Basic | 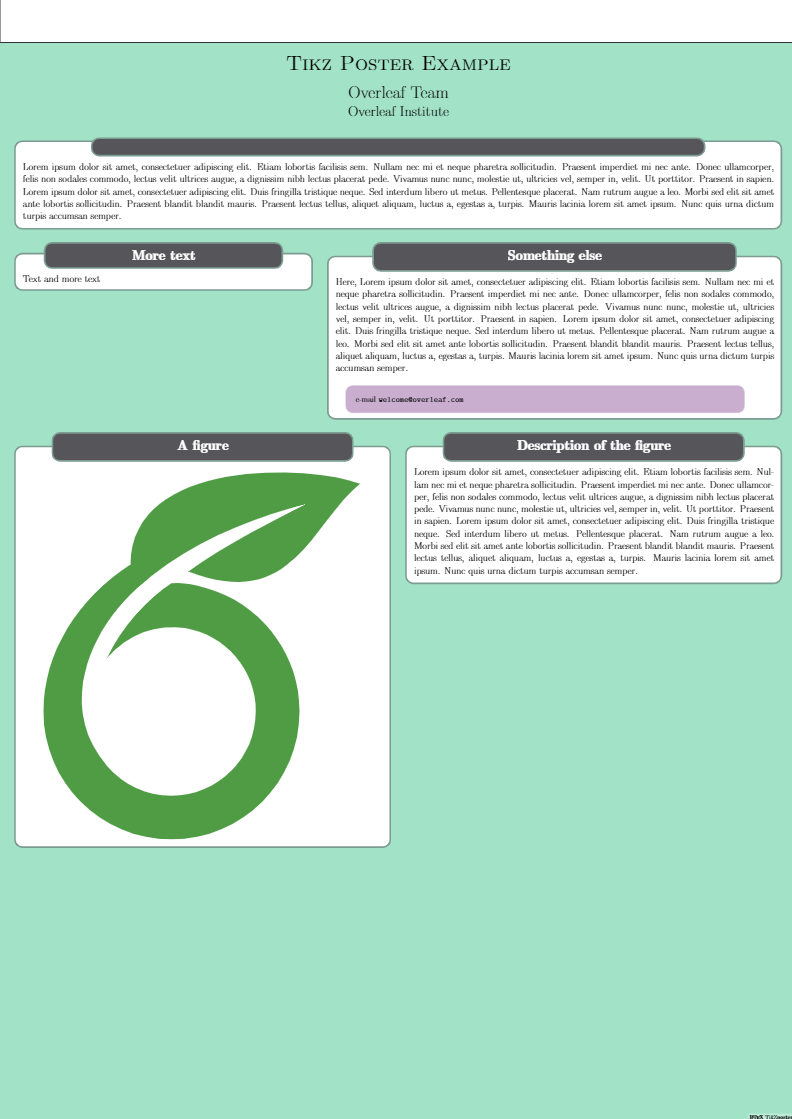
|
Simple | 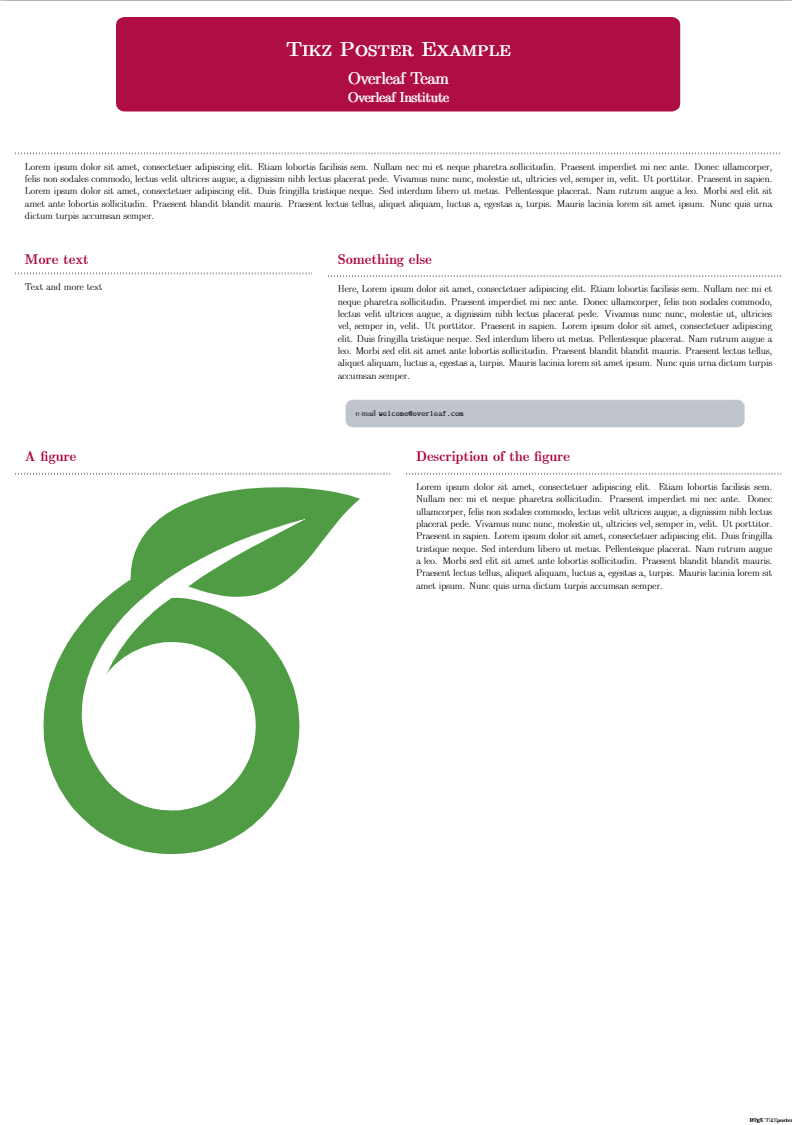
|
| Envelope | 
|
Wave | 
|
| Board | 
|
Autumn | 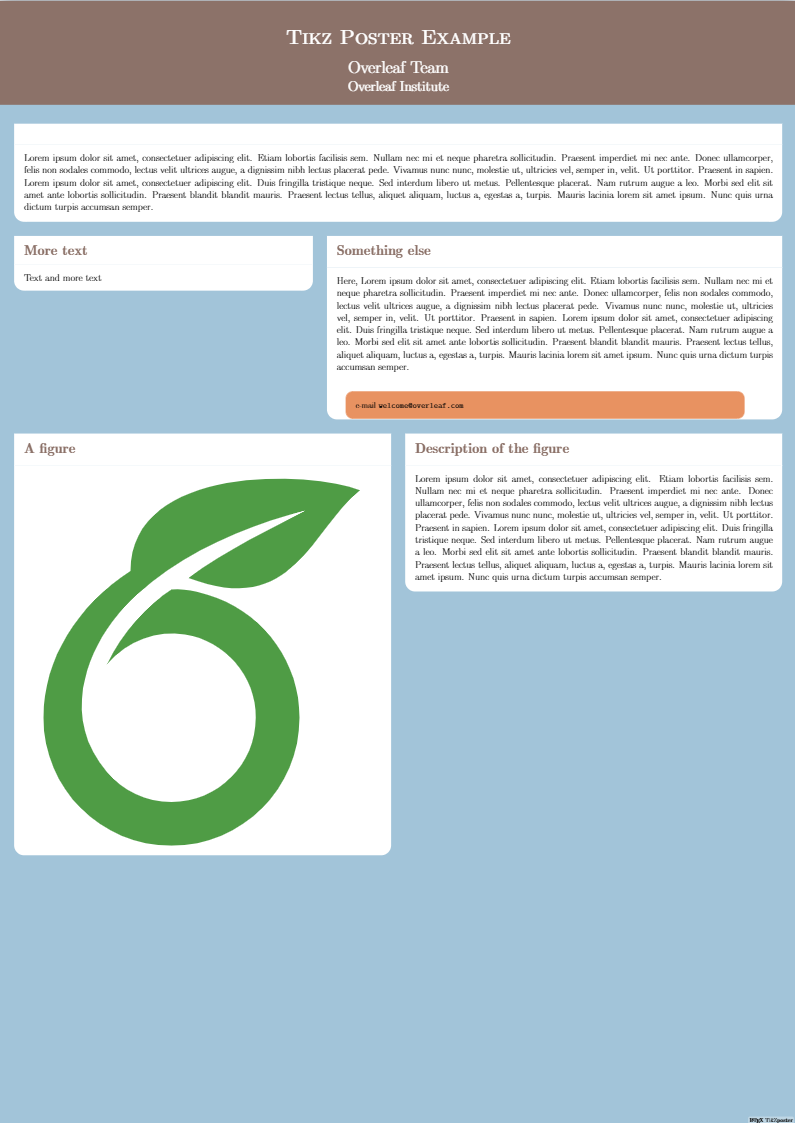
|
| Desert | 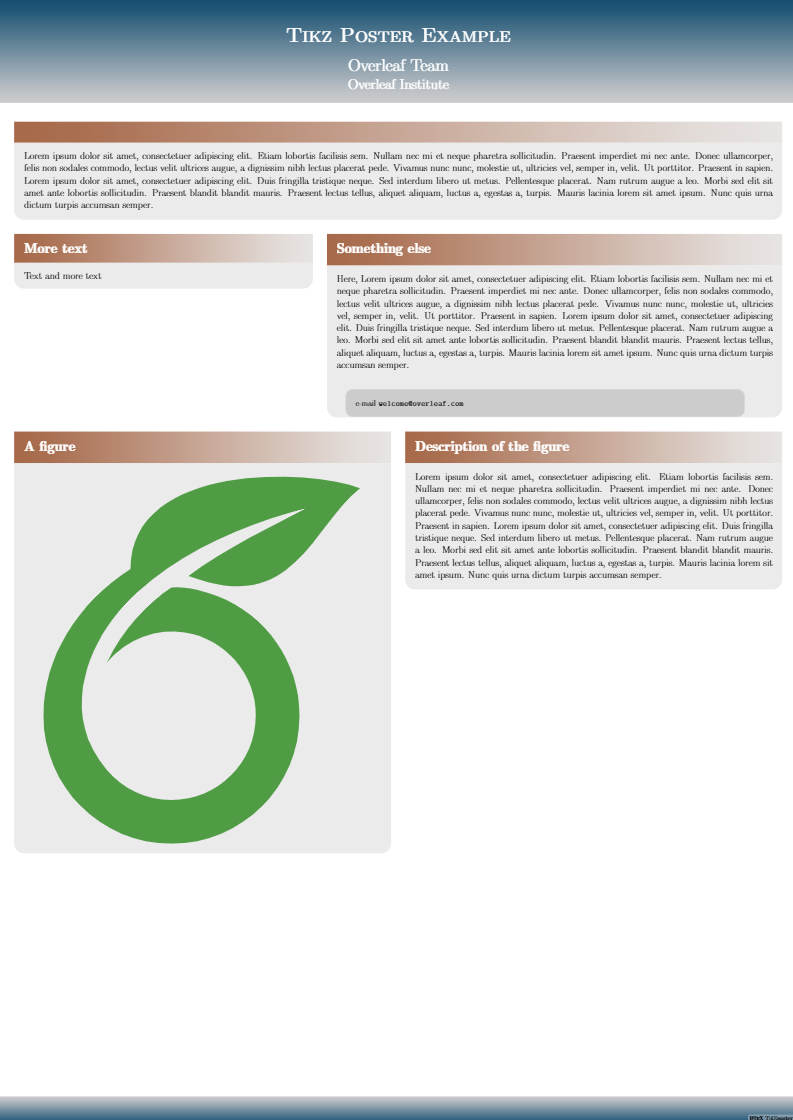
|
Further reading
For more information see